Paid content
Paid Content lets you share a link to one or more files and make those files available only after the recipient has paid the configured amount.
This feature is useful when you want to sell or share content in exchange for a payment, for example:
- content creators selling downloads, lessons, reports, images, video, or audio;
- business professionals sharing paid documents or resources;
- influencers distributing premium content to their audience;
- businesses offering a paid file, bundle, or private resource.
Before payment, the recipient can open the payment page but cannot access the content links. After the payment is confirmed, the content links become available immediately. You can also set an expiration date for the payment link.
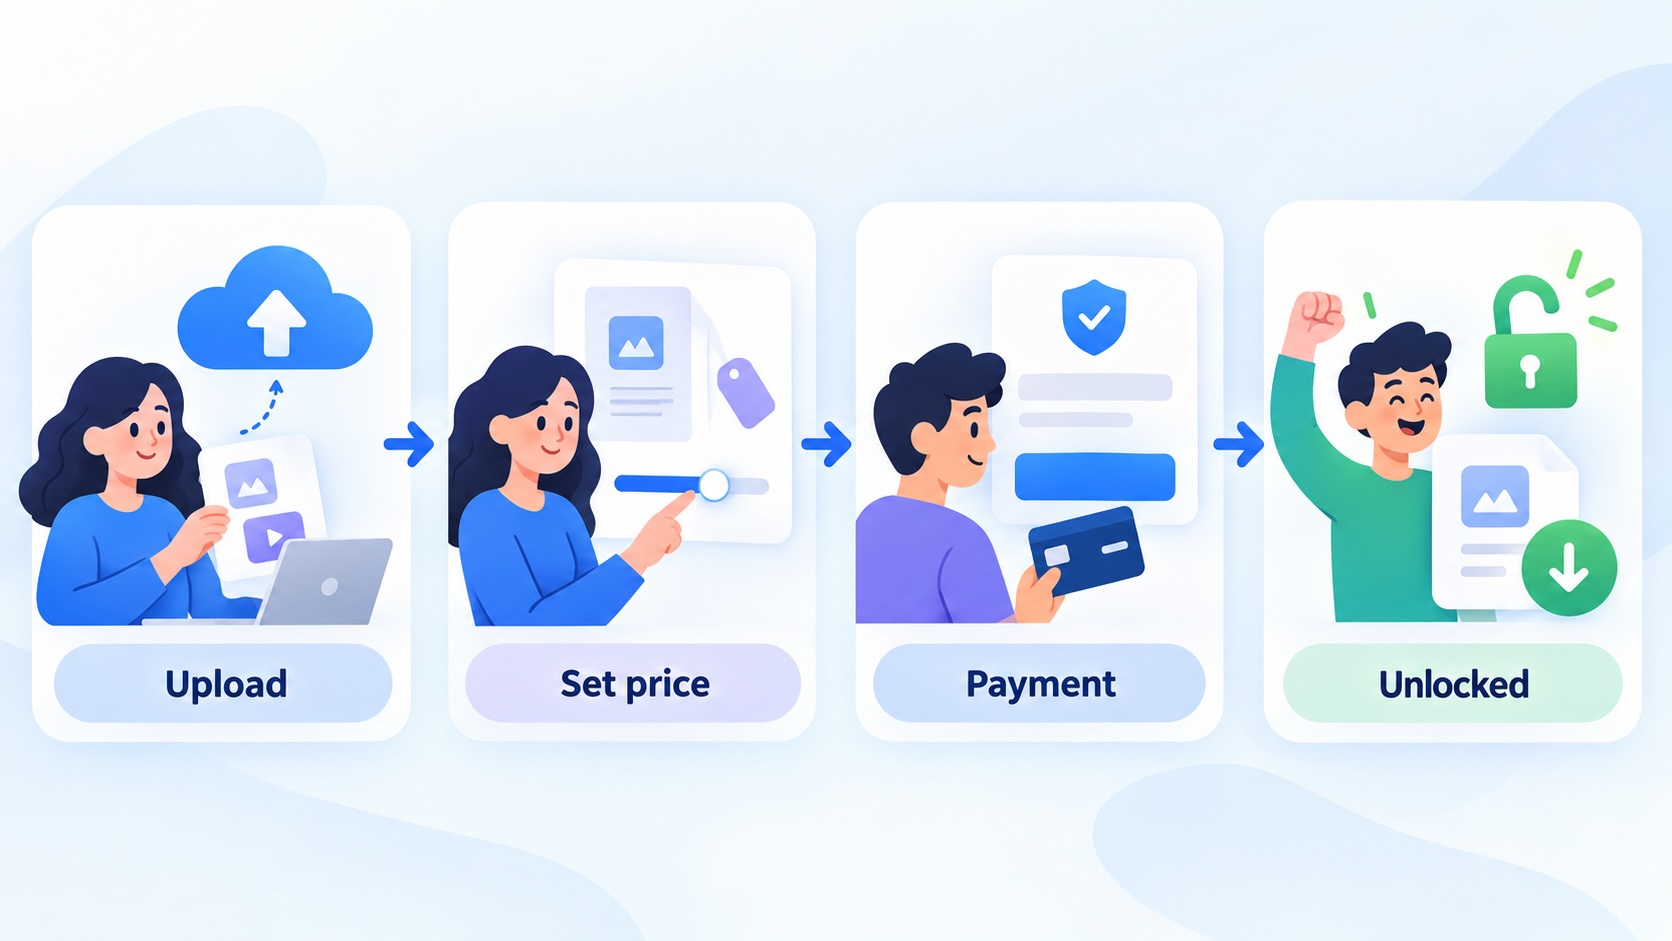
How the feature works
Paid Content consists of two related objects:
- A Content link points to a file that you host.
- A Content groups one or more Content links, defines the price and currency, selects the payment method, and optionally sets an expiration date.
The files are hosted by you. They must be publicly accessible at the URLs you add as Content links. Our platform does not upload or store these files for you.
How to create paid content
Step 1: Host your files
Upload each file to your own bucket, CDN, or another storage service. The file URL must be publicly accessible so it can be opened after payment.
Examples include a public object-storage URL, a CDN URL, or a URL served by your own application.
Step 2: Create a Content link
Create a Content link and provide:
- the public file URL;
- an internal name;
- a display name that the recipient will see after payment.
You can reuse a Content link in more than one Content item.
Step 3: Create Content
Create a Content item and configure:
- content name;
- one or more Content links;
- amount and currency;
- payment method;
- optional support link;
- optional expiration date.
The Dashboard also provides a page for viewing and managing created Content items, including their payment URL, status, price, creation date, expiration date, and preview.
Payment methods
Paid Content supports three payment method configurations:
- Stripe — We creates and verifies the Stripe payment flow;
- IFrame — your payment page is displayed in an iframe;
- Custom — use your own payment logic and notify through the API after successful payment.
Stripe
To accept payments through Stripe, you need a Stripe account and two keys:
- Secret key — used by the backend to create and verify payments. Never expose it in browser code, a public repository, or a frontend application.
- Publishable key — used by the payment UI in the browser.
You can find both keys in the Stripe Dashboard under Developers → API keys. Stripe describes the same process in its API keys documentation.
Use a restricted Secret Key
As a security best practice, create a separate restricted Secret Key for our platform instead of sharing your standard full-access Secret Key.
In the Stripe Dashboard:
- Open Developers → API keys.
- Start creating a new Secret Key and select Providing this key to a third-party application.
- Select Customize permissions for this key.
- Grant only the following permission.
| Stripe resource | Permission |
|---|---|
| Payment Intents | Write |
Our backend uses PaymentIntents to create the payment, and to list and retrieve it while checking whether the payment succeeded. No permissions for Customers, Charges, Refunds, Payment Methods, Checkout Sessions, Payouts, or Webhooks are required for Paid Content.
Copy the restricted key and enter it as the Stripe Secret key in Paid Content. Keep it on your backend and never expose it in browser code. Use separate restricted keys for test mode and live mode.
In the Paid Content form, select Stripe and enter the secret API key and publishable key. We validates the keys and stores them securely for the Content item. Use test-mode keys while testing and live-mode keys only for production payments.
For Stripe payments, you can allow one or both of these payment methods:
- Card;
- Crypto.
If you allow card payments, you can enable 3D Secure. This asks the destination customer for a 3D Secure challenge for card payments, which can provide an additional fraud and chargeback protection layer. See Stripe’s 3D Secure documentation for more details.
IFrame payment page
With IFrame, enter the URL of your own payment page. Our platform displays this page in the payment flow. Your payment page is responsible for collecting the payment and notifying your backend when the payment has succeeded.
After the payment is confirmed, update the Paid Content status to paid through the API. The recipient will then see the configured Content links.
Only embed a payment page that you control and that is designed to work inside an iframe. Make sure your page’s security headers allow it to be framed by our payment page.
Custom payment method
The Custom method is intended for a fully custom payment integration. You can provide your own payment script or payment flow, then update the Paid Content status through the API after your payment provider confirms the transaction.
Do not mark content as paid solely because a browser returned to your success page. Confirm the payment server-side with your payment provider before changing the status.
Sharing and delivery
After creating Content, use its payment URL to send the offer to a recipient. The recipient completes the selected payment flow. Once the Content status becomes paid, the payment page returns the available Content links.
If the Content has an expiration date, it is no longer available after that date. You can manage the Content item and inspect its current status from the Dashboard.
Security considerations
- Store Stripe secret keys only in a secure backend or secret manager.
- Do not expose management API keys in frontend code.
- Validate payments server-side before setting the status to
paid. - Use private or signed storage URLs if the file must not be accessible before payment. A publicly accessible file URL can be opened by anyone who obtains it, regardless of the Paid Content status.
- Treat payment URLs and content tokens as sensitive access links and avoid publishing them in places where unauthorized users can obtain them.